SNAP HA on Azure
SnapReplicate™ allows for manual replication of volumes to another node in the event of a problem or a planned maintenance. SNAP HA allows replication to be triggered automatically in such a case, by establishing a heartbeat between linked instances. If the heartbeat fails to register for more than a few moments, the other instance takes over, ensuring seamless access to the provisioned data.
-
To set up SNAP HA, start the process by clicking Add SNAP HA.

-
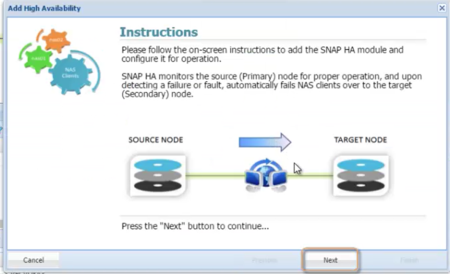
The Add High Availability wizard opens, providing an Instruction window. Click Next.
-
The next screen depends upon whether your storage pool has made use of MSFT disks added from within the SoftNAS UI (as explained in Adding Block Storage via the SoftNAS UI), or if you added Azure Blob Storage disks, or added your block storage disks through the Azure Portal.
If you added Azure Blob Storage or used the Azure Portal to add your disks, then you would first have to provide Azure account credentials before being prompted to enter your Virtual IP Address.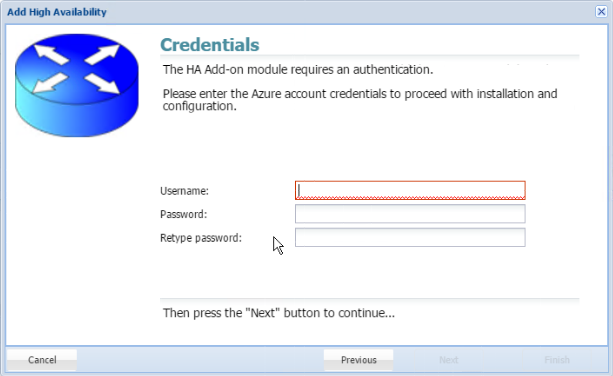
-
If you added Microsoft disks using the SoftNAS UI, you will have supplied Azure credentials already. In this case, the wizard will skip ahead to the Virtual IP screen. This is because your credentials would be cached in order to speed up the process.
Here you will create and add an IP Address that is not in the same CIDR block as the instances. (In simplest terms, ensure that the IP address does not start with the same numbers as the two instances.) Click Next.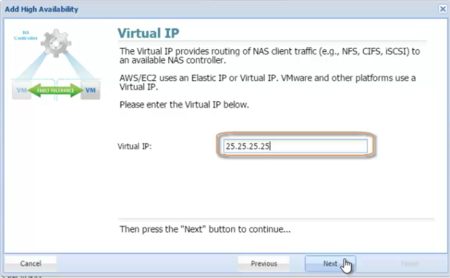
-
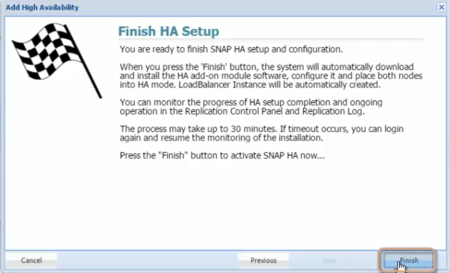
Click Finish on the Finish HA Setup screen.
-
Your SNAP HA pairing is created.
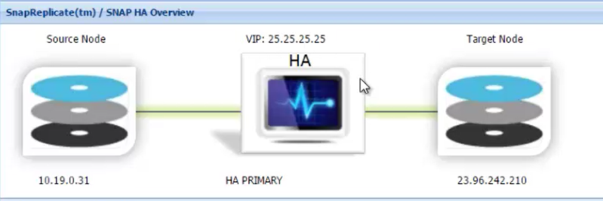
To test, shut down one of the instances. The other will become primary after a few moments. Alternatively, select Actions, and Takeover to simulate a failover.