Adding Microsoft Azure Disks through StorageCenter™
An alternative to adding disks through the Microsoft Azure management interface is to use StorageCenter™. This section covers how to add a disk to a SoftNAS instance directly through StorageCenter™.
How to Add An Azure Disk
To add an Azure disk
1. Launch SoftNAS StorageCenter and choose "Disk Devices" from the main menu.
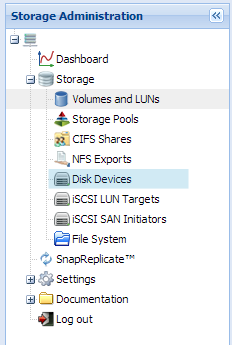
The Disk Devices panel appears.
2. From Disk Devices, choose the "Add Device" button

3. Select Microsoft Cloud Disk Extender, and click on Next.

4. Complete the Add Microsoft Azure disk extender dialogue

VM Name- Name that was given for the virtual machine in Microsoft Azure. eg. Softnas 1.
Credentials file- Microsoft Azure subscription file, which contains secure credentials to connect to your MS Azure subscriptions.
About the Credentials File
The credentials file (subscription file) is a file containing secure credentials which are used to connect to your Azure subscriptions.
To download your subscription file
1. Log into your Microsoft Azure management Portal
2. Type the following url into your web browser
https://manage.windowsazure.com/publishsettings
Your subscriptions file will download and you will be presented with the following screen

Maximum Disk Size - Choose a maximum disk size for the thin provisioned disk.
5. Click on Create Microsoft Azure Disk
The Disk is created and automatically partitioned and ready for use.

The next step is to create a Storage Pool which uses the cloud disk.
For more information, see section Creating Storage Pools.