SnapReplicate™ on Azure
SnapReplicate™ provides quick and easy replication between two paired SoftNAS Cloud NAS instances. This requires some basic preliminary setup, including adding storage, creating a pool, and creating a volume on the first instance, then mirroring that configuration, minus the volume, on the second instance. In essence, you must create a landing strip for the volume on the target instance.
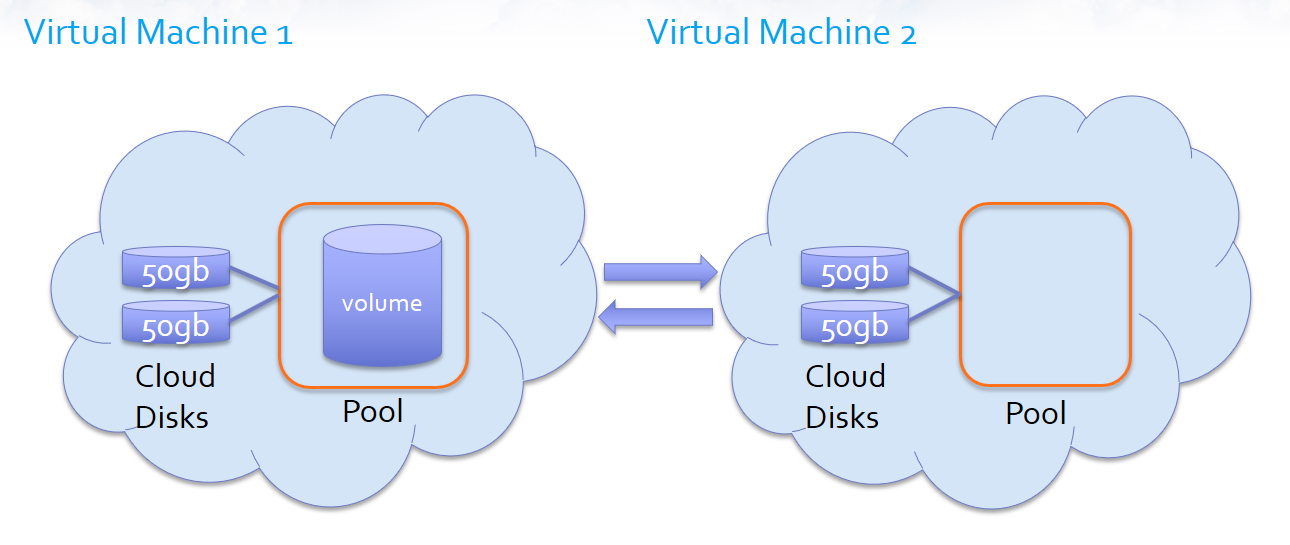
The above is a very basic representation, illustrating two cloud disks in a RAID configuration (any RAID configuration of at least two disks) forming a pool, with a volume created on the source instance. On the target instance, disks of the same size and RAID configuration are set into a pool of the same name. This basic configuration is used for each platform upon which SoftNAS is available, including AWS and VMware. Provided disks and pools are in a mirrored configuration, the volume or volumes in the pools can be replicated.
Once the above configurations have been established, setting up SnapReplicate™ for Azure is a simple process.
-
Log into the source instance (via the IP address in your browser.)
-
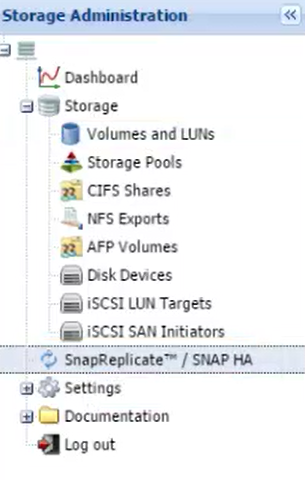
Select SnapReplicate™/SNAP HA from the Storage Administration pane.
-
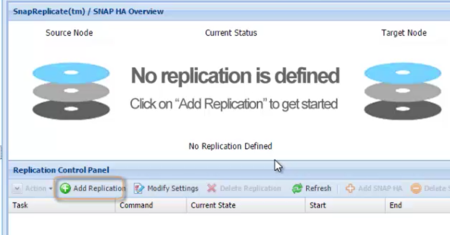
The SnapReplicate/SnapHA window opens. Click Add Replication.
-
The Add Replication wizard will open. Click Next.

-
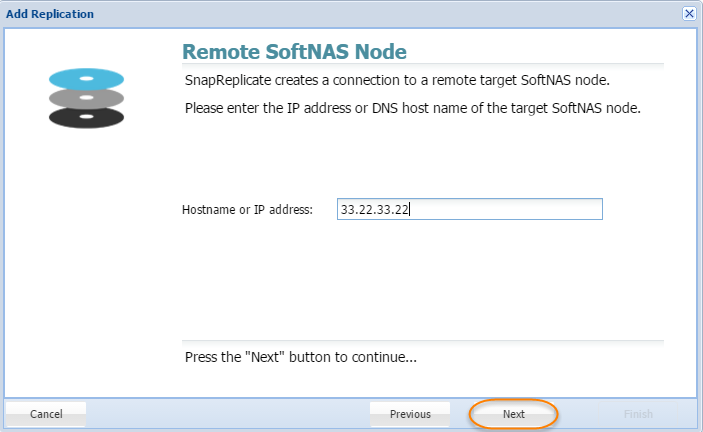
In the Remote SoftNAS Node window, enter the IP Address of theTarget Node. Click Next.
-
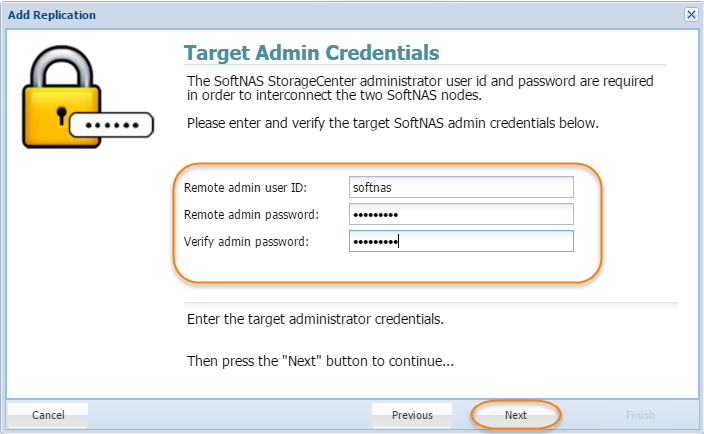
Enter the credentials for the target softNAS node (by default this will be a username of softnas, and the password established in setup, unless alternate credentials were created). Click Next.
-
Click Finish, to complete the wizard.
Testing Replication -
To test the replication, move to the target node, and confirm that the volume from the source node is replicated to Volumes and LUNS.
-
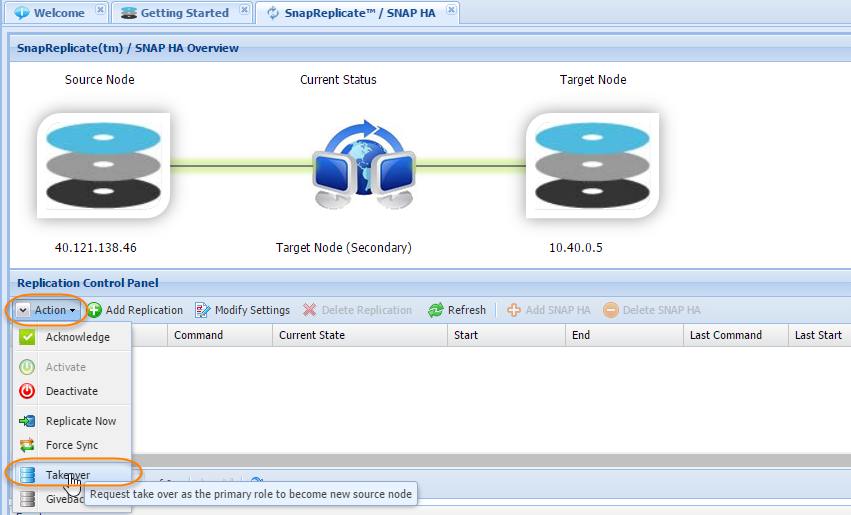
Still on the target node, return to SnapReplicate/SNAP HA, and click Actions and then Takeover.
-
Click Yes on the confirmation prompt.

-
The target node will become the primary.

-
Return to the former source node. Click Actions and Takeover to restore the source node as Primary.