Deploying your SoftNAS Instance in VMware vSphere
Deploying your SoftNAS instance through VMware is a simple process. After obtaining the SoftNAS OVF file from our site (via purchase or trial, see
Launching SoftNAS Cloud® Platforms), note the storage location, and make sure it is accessible from the machine hosting your vSphere Client.
-
Log into your vSphere client with the appropriate credentials.
-
Click
File, and
Deploy OVF Template.

-
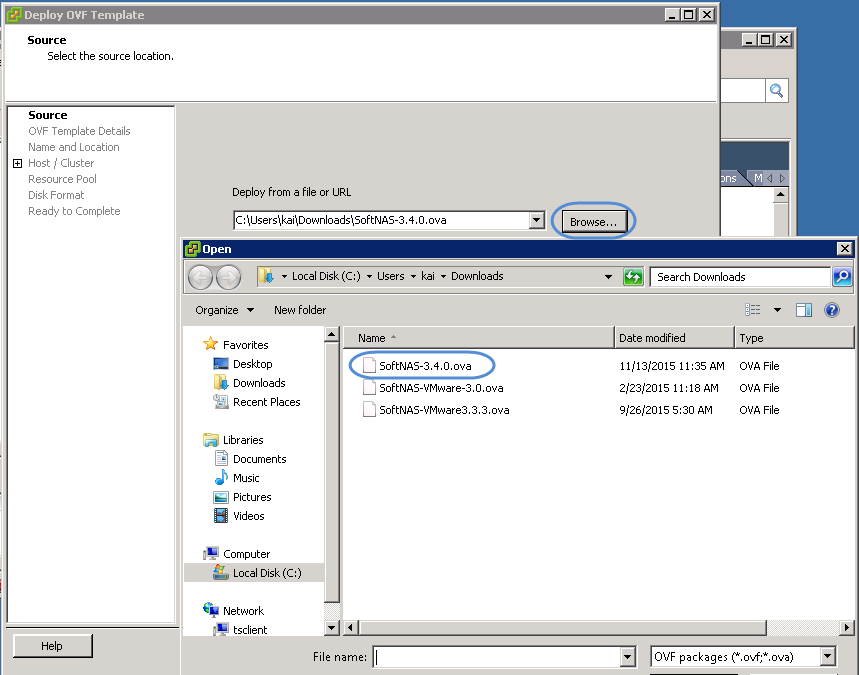
Click
Browse to go to the location of your OVF file, and select it.
-
Click
Next, then
Next again on
OVF Template Details.
-
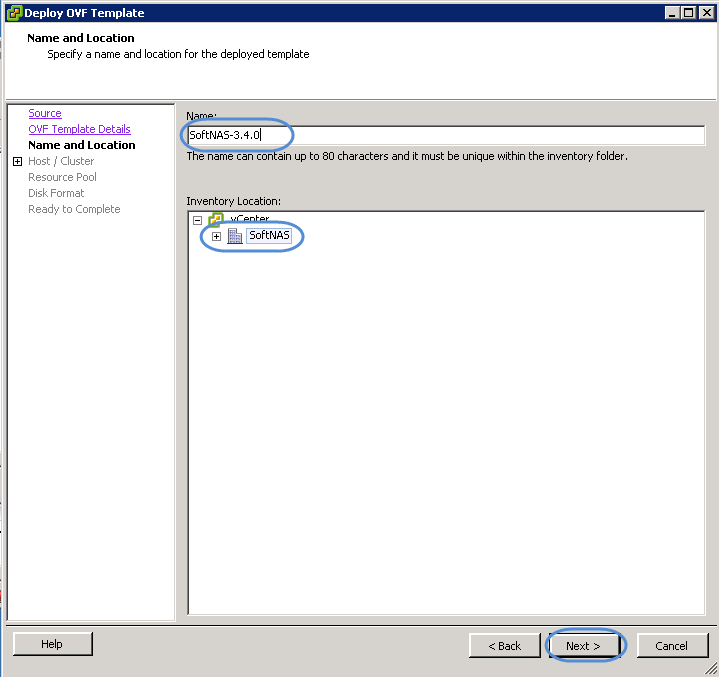
Type a name, select a location, and click
Next.
-
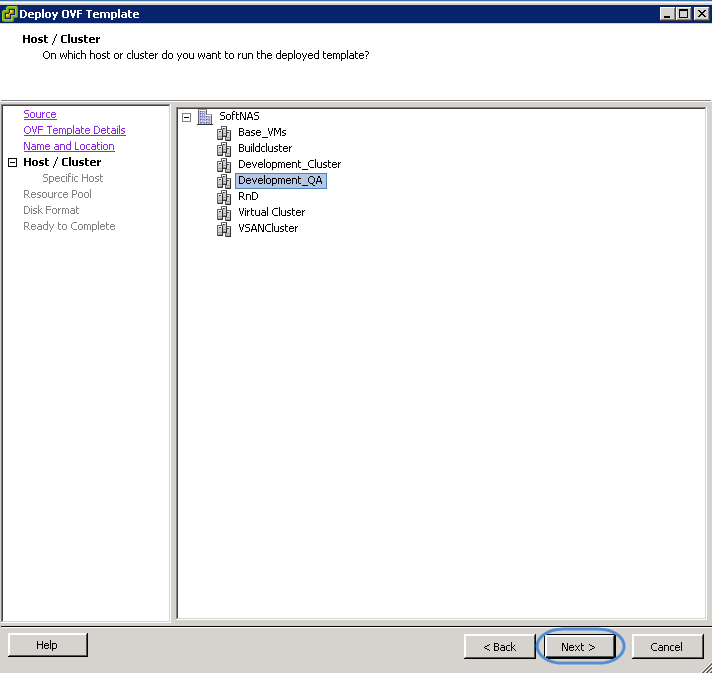
Select the Host or Cluster you wish to deploy on, and click
Next.
-
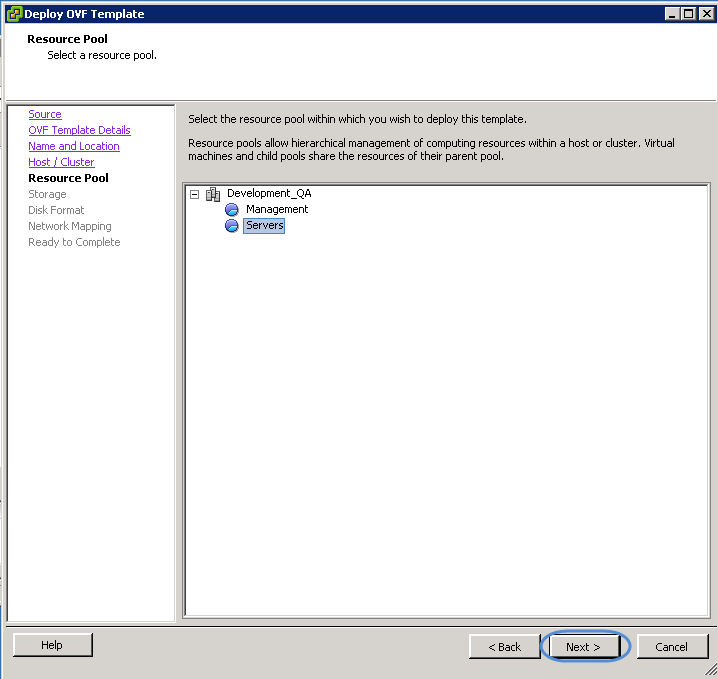
Select a Resource Pool. Click
Next.
-
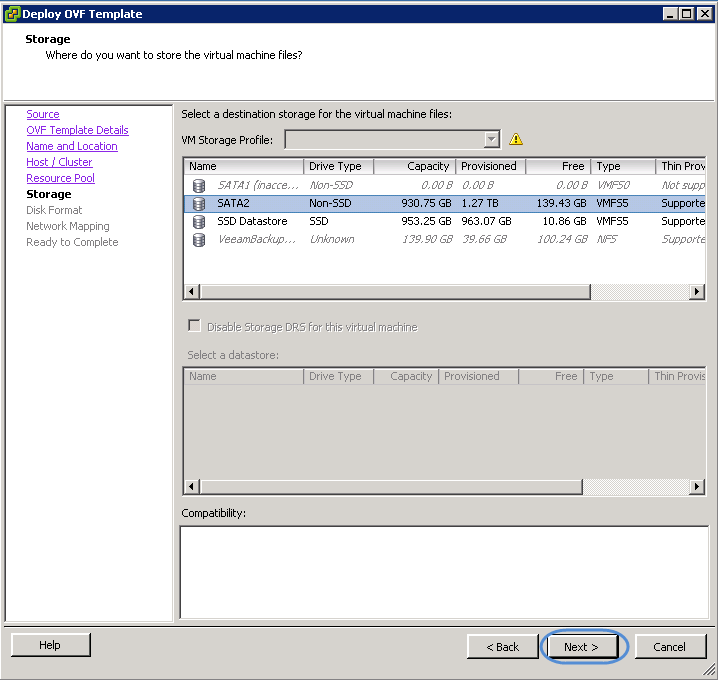
Select your destination storage. Click
Next.
-
Select a Disk Format, depending on your requirements. For example if running your VM in an environment with space constraints, select thin provisioning. Look to
VMware help for more information. Click
Next.
-
Select a network for your VM. If creating an HA environment, be sure to select the same network as other instances.
Note: If creating an HA environment, you will require at least three VMs, two to act as paired nodes, and one to act as HA Controller. Plan accordingly.
11. Click Finish.
Your SoftNAS instance will deploy after a short interval.