Installing SoftNAS on Hyper-V 2008 R2
Once you have downloaded the SoftNAS for Hyper-V 2008 R2, unzip the file to the system where the Hyper-V 2012 is installed and working, Then you can start installing the SoftNAS for Hyper-V 2008 R2 on the system.
1. To do so, open the Server Manager and navigate to Hyper-V -> Hyper-V Manager.
The Hyper-V Manager dialog will be displayed.
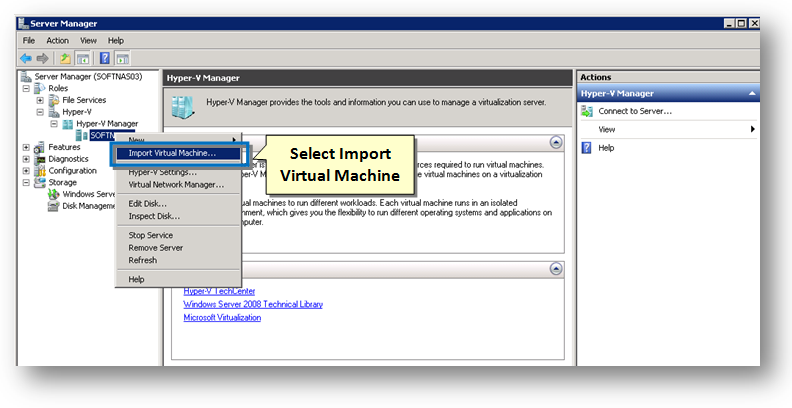
2. Select the Import Virtual Machine option.
The Import Virtual Machine wizard will be displayed.
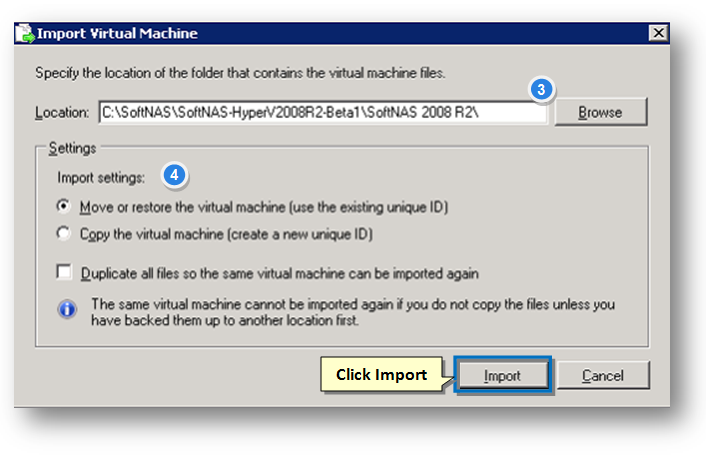
3. Click the Browse button and select the folder in which the SoftNAS virtual machine files for Hyper-V 2008 R2 are located..
4. In the Settings section, select the required option for importing the virtual machine.
5. Click the Import button.
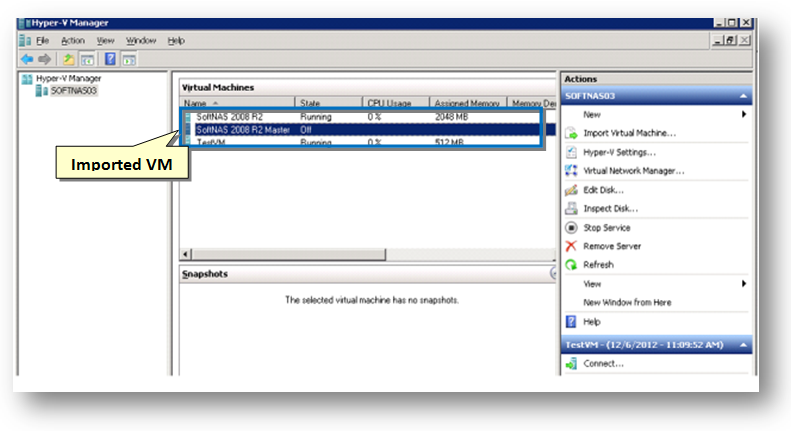
Once the importing of the SoftNAS for Hyper-V 2012 is completed, the SoftNAS VM will be shown in the Hyper-V Manager console.
Note: Because of the limitations with Hyper-V 2008 R2 export/import, SoftNAS for Hyper-V 2008 R2 is shipped WITHOUT a virtual NIC installed. Before using the imported VM with Hyper-V on Windows Server 2008 R2, be sure to add a network adapter.
Installing a Virtual Network Adapter
1. To install and configure a virtual network adapter for SoftNAS VM installed on Hyper-V 2008 R2, right click the VM and select the Settings option from the drop down menu.
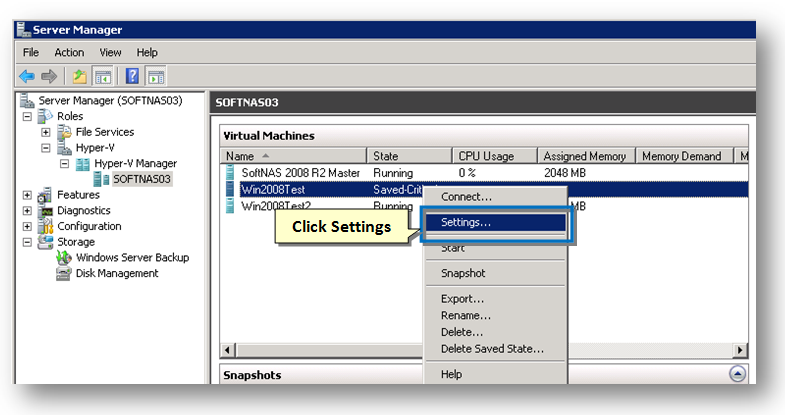
The Settings for SoftNAS 2008 R2 dialog will be displayed.

2. Select the Add Hardware option in the Hardware section to the left and select the device that you wish to add in the Add Hardware section to the right.
3. Click the Add button.
4. Navigate to SCSI Controller section in the left panel and observe that the newly added network adapter is displayed.
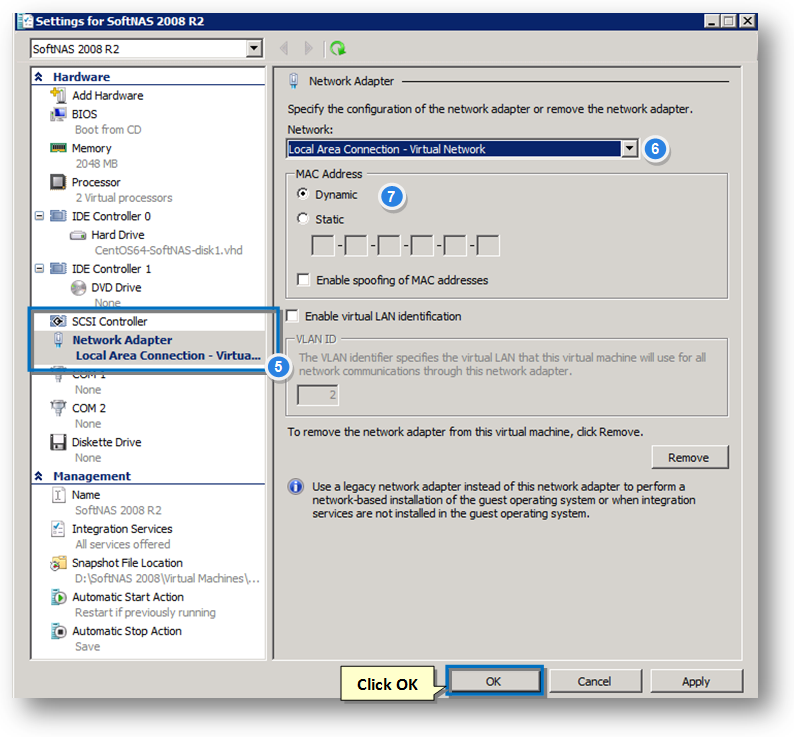
5. Select the Network Adapter in the left panel.
6. Select the network as Local Area Connection - Virtual Network option from the Network drop down list.
7. Let the MAC Address be Dynamic.
8. Click the OK button.
Now the imported SoftNAS VM for Hyper-V 2008 R2 is ready to configure and start.