Active Directory Configuration
Overview
Integration of SoftNAS into Active Directory enables domain users to more securely share files and data in a corporate environment. Authentication is managed by Active Directory (AD) via Kerberos. Kerberos tickets are issued to users authenticated to AD. When a user accesses a CIFS share managed by SoftNAS, the ticket is then verified with AD to ensure it is authentic and valid before allowing access to the shares. Windows user ID's and groups (e.g., Domain Users) are transparently and dynamically mapped from AD into SoftNAS and Linux, making access seamless for Windows users.
When integrated into a domain environment, SoftNAS becomes another member server of the domain - like any other Windows server joined to the domain.
Authorization and granular access controls are available to manage the level of access available to various users and user groups.
The following sections detail how to configure SoftNAS for integration with Active Directory and how to troubleshoot and resolve common issues that can arise during AD integration.
On Linux, Samba is used to provide access to CIFS for access from Windows-based systems. Samba uses a program called "winbind", which binds Windows authentication and identities (e.g., AD users and groups) with Linux, and automatically maps Windows users and groups to Linux users and groups.
Please use the following process to integrate Active Directory with SoftNAS and Linux with Samba.
Active Directory Wizard
You can configure Active Directory using the Active Directory Wizard. This enables you to automate the integration with AD.
After entering some basic networking details to enable SoftNAS to communicate with your AD environment, SoftNAS will automatically setup the integration with AD, and will even run a final verification stage to ensure that everything is working smoothly.
To run the AD Wizard
1. From Volumes and LUNS, click on Active Directory.
The AD Wizard instructions are displayed.
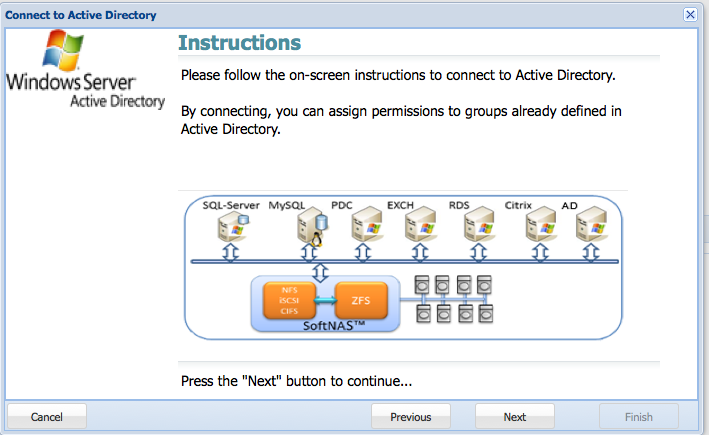
2. Click on Next.
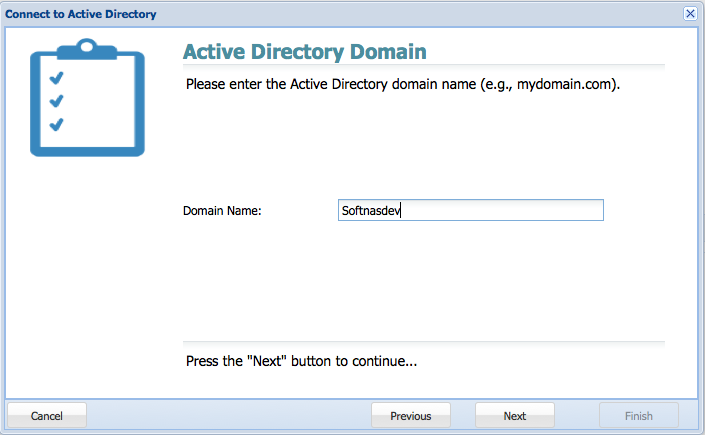
3. Provide the domain name of your active directory domain controller, and then click on Next.
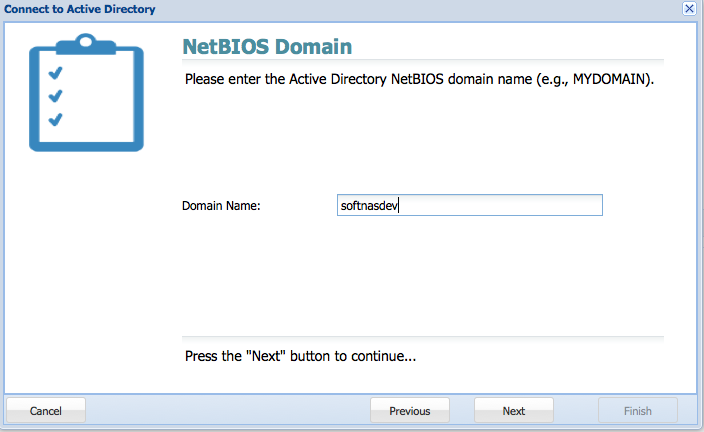
4. Enter the active directory NetBIOS Domain.
Note: the NetBIOS domain name is required for interoperabiloity with older computers and services.
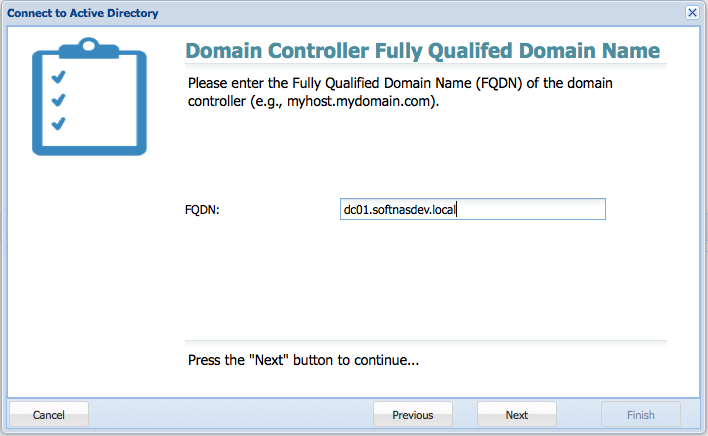
5. Enter the FQDN of the domain controller.
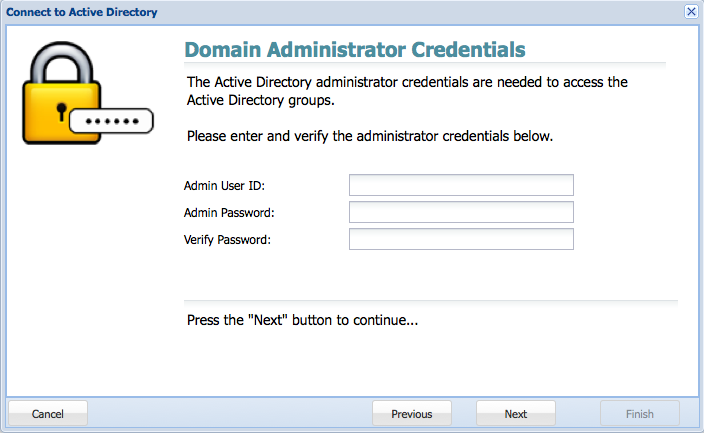
6. Provide the AD administrator credentials.
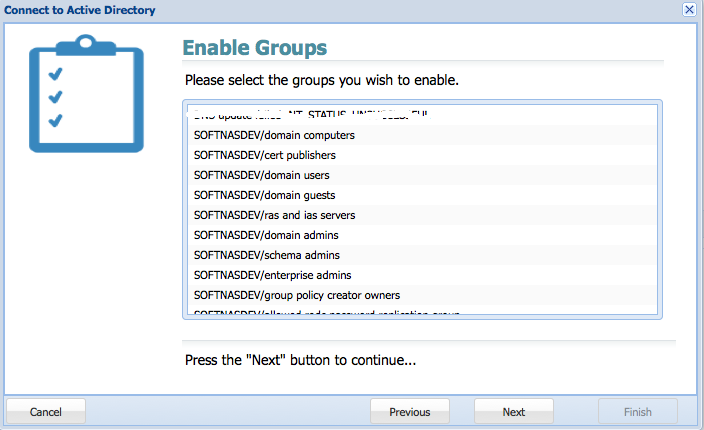
7. Enable the required groups.
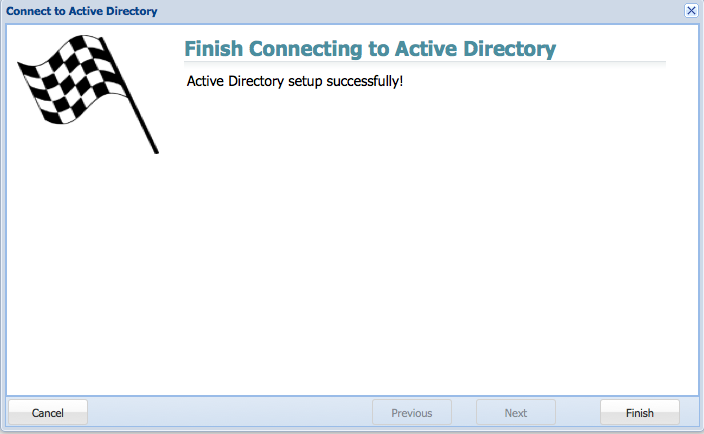
8. Click on Finish.